


An English version will follow.
Voulez vous créer une fleur qui capte l'attention et qui est très facile à fabriquer?
Oui? Super!
Nous allons avoir besoin d'une colle à prise rapide, un brad, un cercle et un tas de petits cœurs poinçonnés. (les miens ont environ 2cm et j'ai utilisé la collection Cosmo Cricket Pixie-Licious)
Would you like to create a flower that is attention grabbing and super easy?
Yes? Great!
We'll need some quick drying liquid adhesive like Zip Dry, a covered brad, a rough cut circle, and a bunch of punched out hearts (Mine are about 2cm in size and I used the Pixie-licious paper by Cosmo Cricket that is at the shop.)

Couvrez le rebord du cercle avec de la colle et collez vos petits coeurs.
Run a bead of glue around the edge of the rough cut circle.
Lay the hearts on the glue and over lap them slightly.
Lay the hearts on the glue and over lap them slightly.
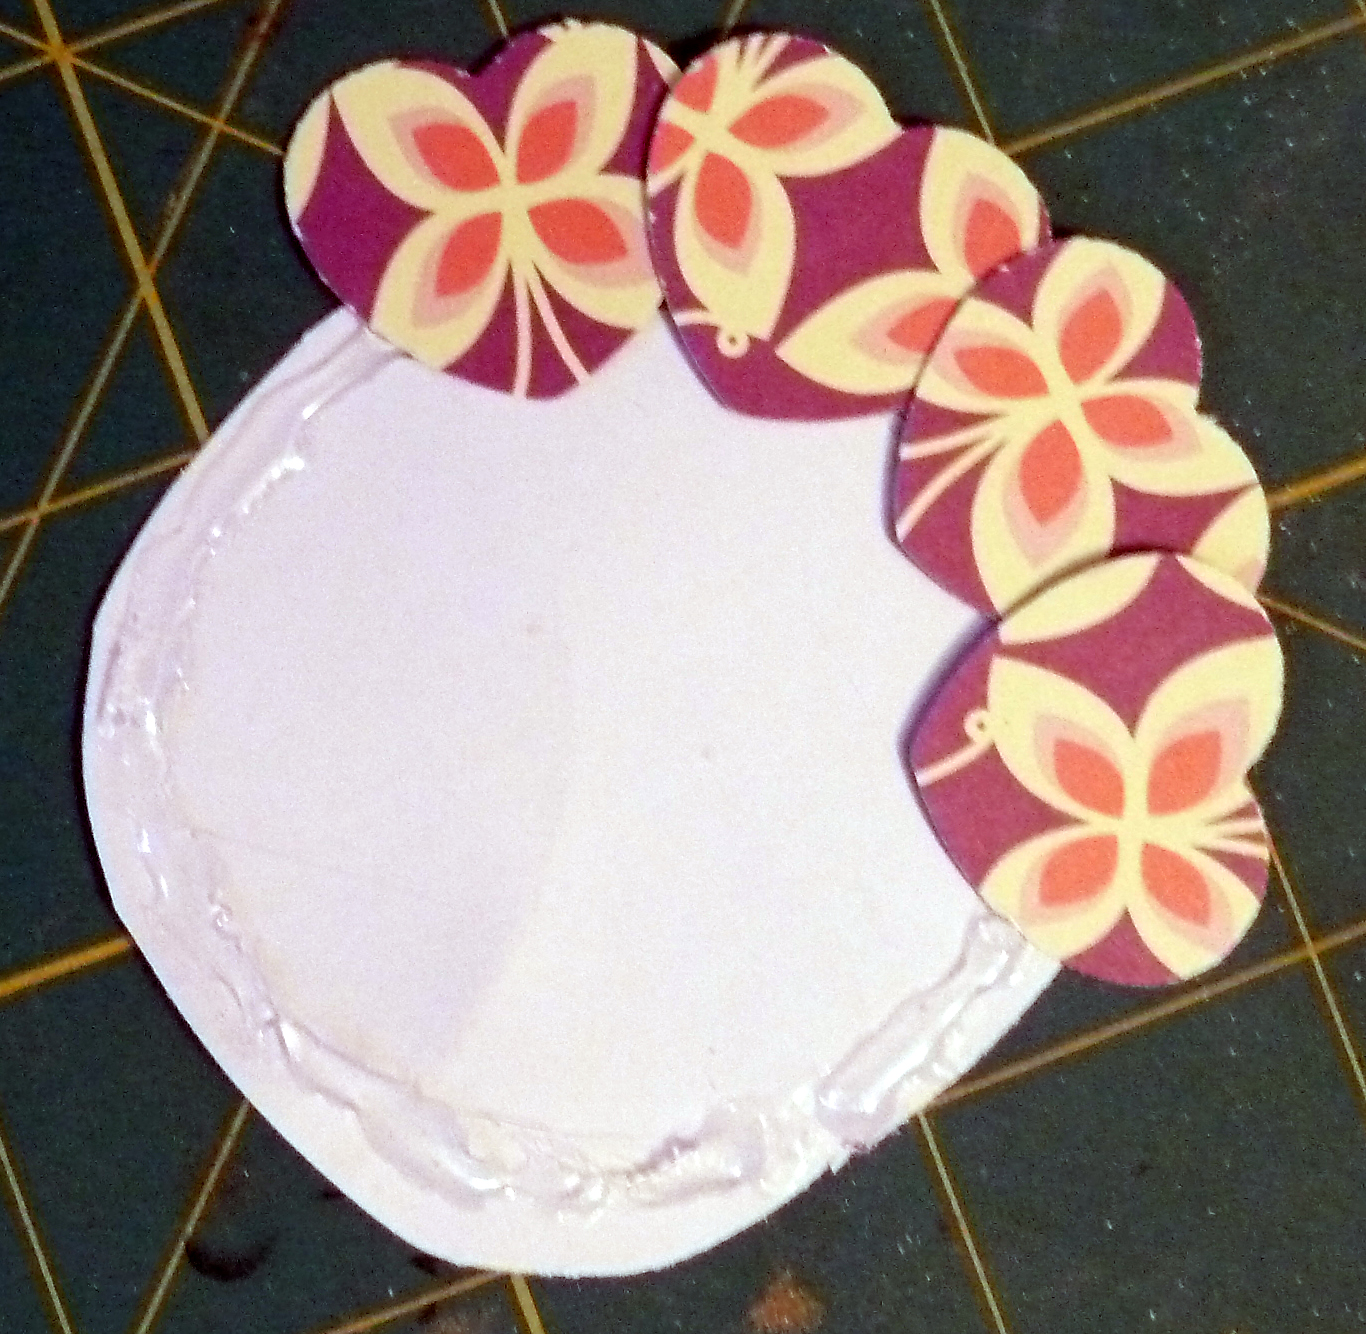

Répetez le cercle de cœurs en allant vers le centre de la fleur.
Repeat the circles of hearts while working yourself down to the center of the flower.

Ajoutez le brad (brad recouvert avec le système I-Top) et voilà c'est fini!
Add the covered brad to the center of the flower and there you have it!

Amusez vous et bonne semaine!
Enjoy and have a great week!