


x
Happy Saturday Everyone! I hope your start to your weekend is a good one!
Here is a fun and interesting way to use heat embossing and buttons together to create unique embellishments for your projects. The best part is most of us have buttons and heat embossing tools in our stashes already! So let's get started...

- Plastic buttons
- Heat gun
- Embossing powder
- Water-resistant ink pad such Versamark
- Anti-static pad
- Tweezers (not shown)
- Bone Folder (not shown)
- Powder tray or scrap paper (to catch the excess embossing powder)
- Stamp image of choice


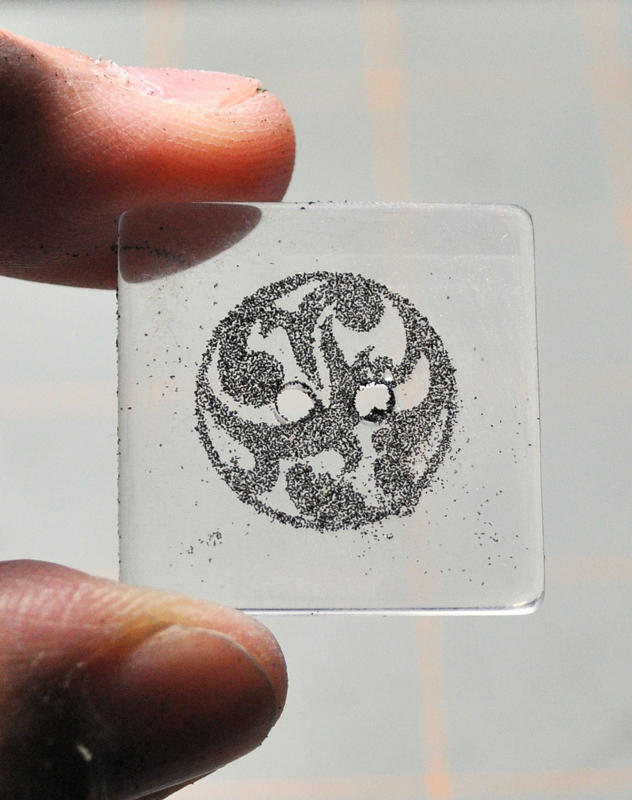
Stamp your image onto the button using water-resistant ink.


Pick up your button using tweezers. DO NOT move the tweezers once they are in place.
Pour embossing powder over the button. Gently tap off excess powder onto tray or scrap paper. Tip: If you find your stamped image is not as crisp as desired, simply rub off the embossing powder with your finger and repeat steps #1 through #4.

Use your heat gun to emboss the powder. Ensure your fingers are gripping the tweezers firmly yet far away from the heat.

Once heat embossing is complete. Set aside the button and tweezers to cool. *Caution: Tweezers will be hot to touch because it is metal, metal heats up more quickly than plastic. This should take no longer than 15 mins to cool dependent on the strength of your heat gun. Please be careful once you've reached this step.

Remove tweezers from button. You are ready to use your newly created embellishment!
Tip: Use flat buttons for easier handling throughout this entire process.
It's amazing how you can change a look of a typical embellishment into something one-of-a- kind. And it is so easy and simple! Try mixing and matching your colored buttons with colored embossing powders to create a whole new look to your buttons.
Until then I hope you will try this method out and have fun with it! Until next Saturday, Happy Crafting!
KISSes and Hugs ~Michelle


Just a quick note to let you know that a link to this post will be placed on CraftCrave today [27 Jun 12:22pm GMT]. Thanks, Maria
ReplyDeleteawesome - I bought some clear buttons from SU. Think I'll give it a try.
ReplyDeleteupon reading this I was thinking it might also be cool to just emboss the entire button w/o the image...so just cover the button with ink and powder...that way you could change the color to perfectly match your project...TFS
ReplyDeletecool thanks!!
ReplyDeleteWow, very stylish tip! This looks really great!!!
ReplyDeleteHugs, Wendy
Love this idea!! You've got me thinking about the possibilities now!!
ReplyDelete