


Hi Everyone! One of the things you may know (or not) is that I enjoying watching YouTube videos. Well last week I came across an amazing video on how she created these gorgeous handmade flowers. Now I did not have all the tools she did to re-create them exactly but figured that was okay because being crafty is figuring out how one can create them with what I have on hand. Here are my cards to show you my version of these handmade flowers.

Here is the list of supplies and tools you'll need to create these flowers:

- Circle punches
- Scallop punches
- Die-Cut Machine of choice
- Patterned Paper (preferably coordinated papers from one stack)
- Paper Piercer
- 1 Mini Brad (your choice of color)
- Heavy-duty Adhesive - I used medium Zots dots to adhere my flowers onto my cards
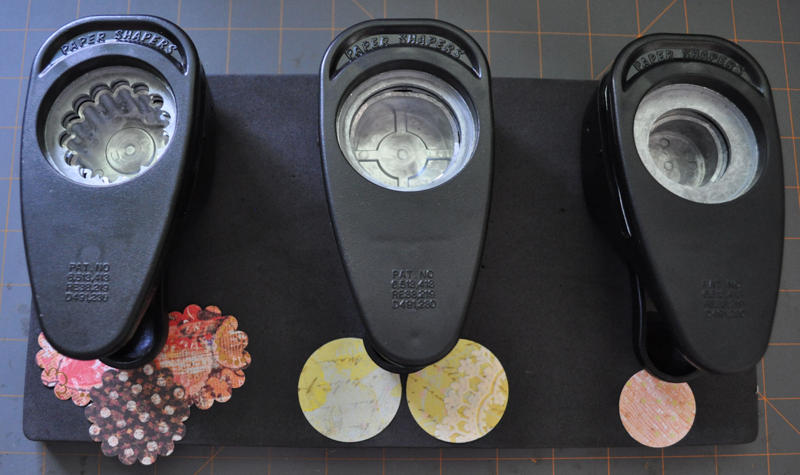
Cut 2 medium circles again using either punches or your die-cut machine. - All my flowers used a circle punch.
Cut 1 small circle via your choice of tool. - All my flowers used a circle punch.

Crumple up all your shapes into tiny balls. If you rip the paper slightly by accident, I think that adds charm to the flower when complete. However if the rip is more than half, you will need to replace that piece.

Carefully unravel all the pieces. Keep each piece separated from one other (for now).

Layer and nest starting with the largest pieces on the bottom ensuring you centre as best as you can all your shapes.

Poke a hole using your paper piercer in the centre of all your shapes together.

Insert your mini brad in the centre and secure the prongs at the back.

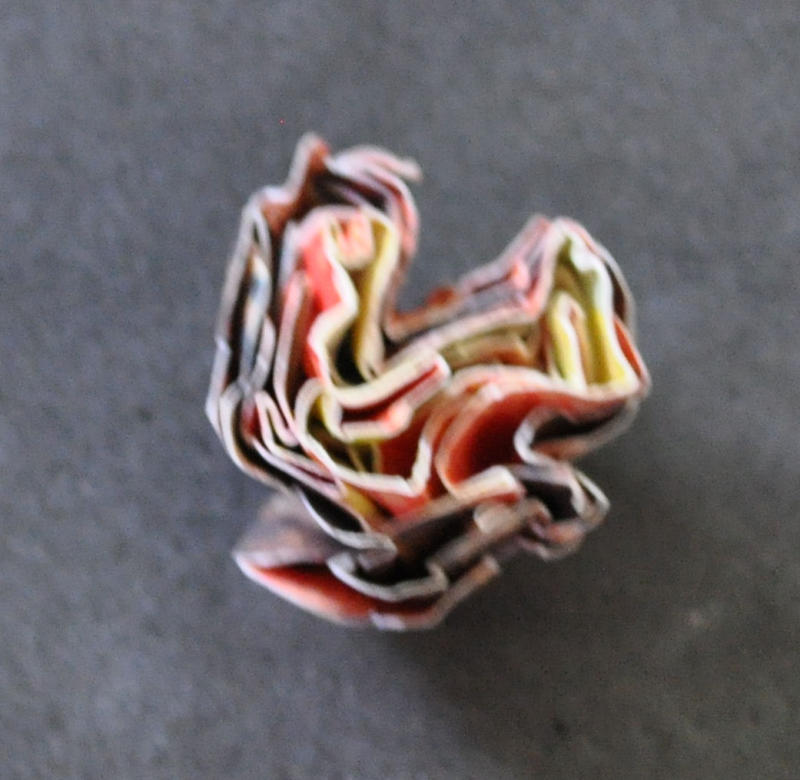
With all your shapes adhered together with the brad, re-crumple each layer folding into the mini brad or centre of your flower. You will notice that you will not be able to fold into small balls like in step #4. That is okay.
.jpg)
Unravel and separate each layer until your desired shape is formed. Now I must warn ya that this step you can spend a-l-o-t of time on. I suggest not to because like flowers themselves, each one is beautiful in their own unique way. Hence your handmade flowers will look as such as well.
KISSes and Hugs, Michelle
KISSes and Hugs, Michelle


gorgeous flower tutorial i must get some punches soon i am dying to create some hande made flowers
ReplyDeletety for sharing your secrets hugs janet
Gorgeous flowers Michelle!!! Thanks for the tutorial...will def make these!
ReplyDeleteI've made these Michelle and yours are gorgeous. You've given everyone a perfect tutorial!
ReplyDeleteBeautiful flowers Michelle!! I can't wait to give them a try!!
ReplyDeleteOh, these are wonderful! Thanks so much for showing us how!!
ReplyDelete*smiles*
debbi