So let's see.. We need these tools: Trimmer, sanding block, quick dry adhesive, gluestick, scissors, and an ink blending tool.

And we'll need these products: Pattern paper, cardstock, Smooch ink, Glimmer Mist, Prima Flower, chalk ink, alphas, bling, ribbon, chipboard heart, Jenni Bowlin Bingo Card, Tim Holtz Trinket Pin, Distress Ink, circle tags, and that Coaster!
(you can use your own mix of embellishments to create your wall hanging)

And we will put all that together to make this!

So let's make one!!
Take the Ink Blending tool, Distress Ink, and the Bingo Card and go to town aging the card to your heart's content.

Spray the Bingo card with the Glimmer Mist.

When the card is wet, it will curl up like this. That's OK!! It's supposed to do that as the paper fibers are relaxing from the moisture. The card will go flat once it dries in a few minutes.

Smooch Ink the chipboard heart. I just slathered it on willy-nilly as it will give the heart a fun textural look afterward.

It's time to Distress Ink the circle tags on their fronts and backs.

My coaster was 3.5" x 5" so I cut my pattern paper accordingly. I applied the gluestick directly to the coaster and then put my paper on.

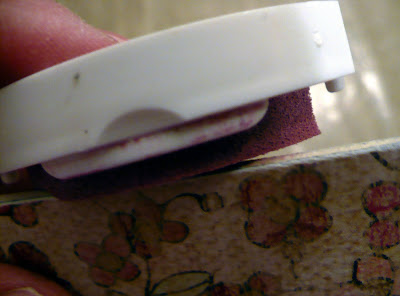
Once the glue took hold, I sanded the edges and corners of the coaster.

I then repeated this process for the reverse side with the cardstock. I inked the edges of the coaster with my chalk ink.

Glued down my heart where I wanted it on the Bingo card. Added some Bling!

Glued this all down to my coaster. Added my flower and Trinket Pin.

Punched a couple holes where I wanted to string my ribbon for hanging. Added my circle tags and alphas to the bottom. Now it is complete!
 Thanks for hanging out here on Alter It Monday with me! I hope you have enjoyed this as much as I have!
 Amy


I love this!!!! so cute!!!
ReplyDeleteThis is beautiful! I need to make some wall hangings. Thanks for inspiring me to do so!
ReplyDeleteAmy, I love this mini wall hanging, it's gorgeous!!! Love the distress ink & glimmer mist together!! Beautiful embellies!!
ReplyDeleteVery pretty Amy! I can't wait to try this!!
ReplyDeletegorje! i love that you just put the Smooch on gloopy - i always LOVE when that textured look appears after everything dries. too smooth and perfect - it might as well be a piece of chipboard!
ReplyDeletelove the little tutorial!
Great readingg your blog post
ReplyDelete